

Hello! In this post, I’ll show how is the setup that I use, the most common applications I mostly use when programming, some useful plugins, anyway, my complete programming environment. I’ll first cover my OS setup, then the applications and finally the customizations. Feel free to contact me if there’s any doubt, but I’ll try to be clear and concise.
DISCLAIMER: You do everything in your >OWN< risk! :D
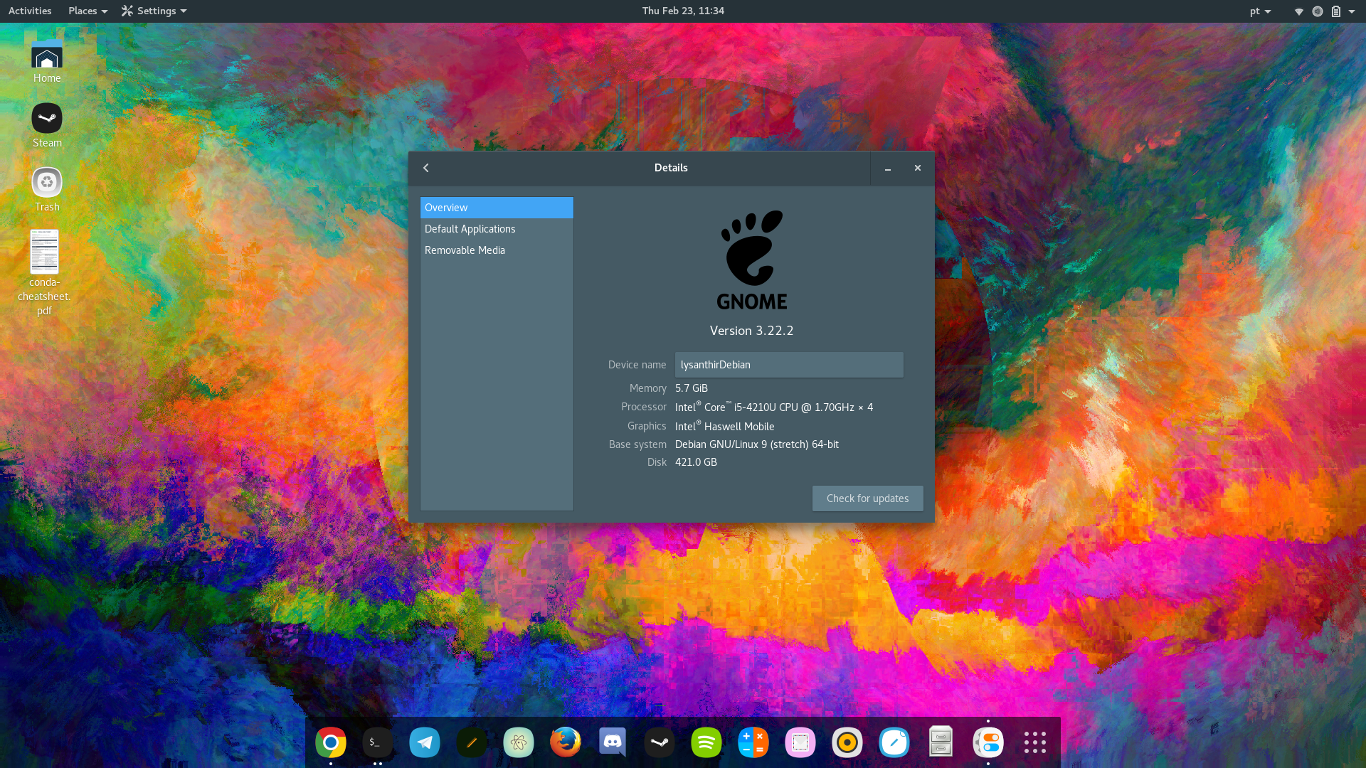
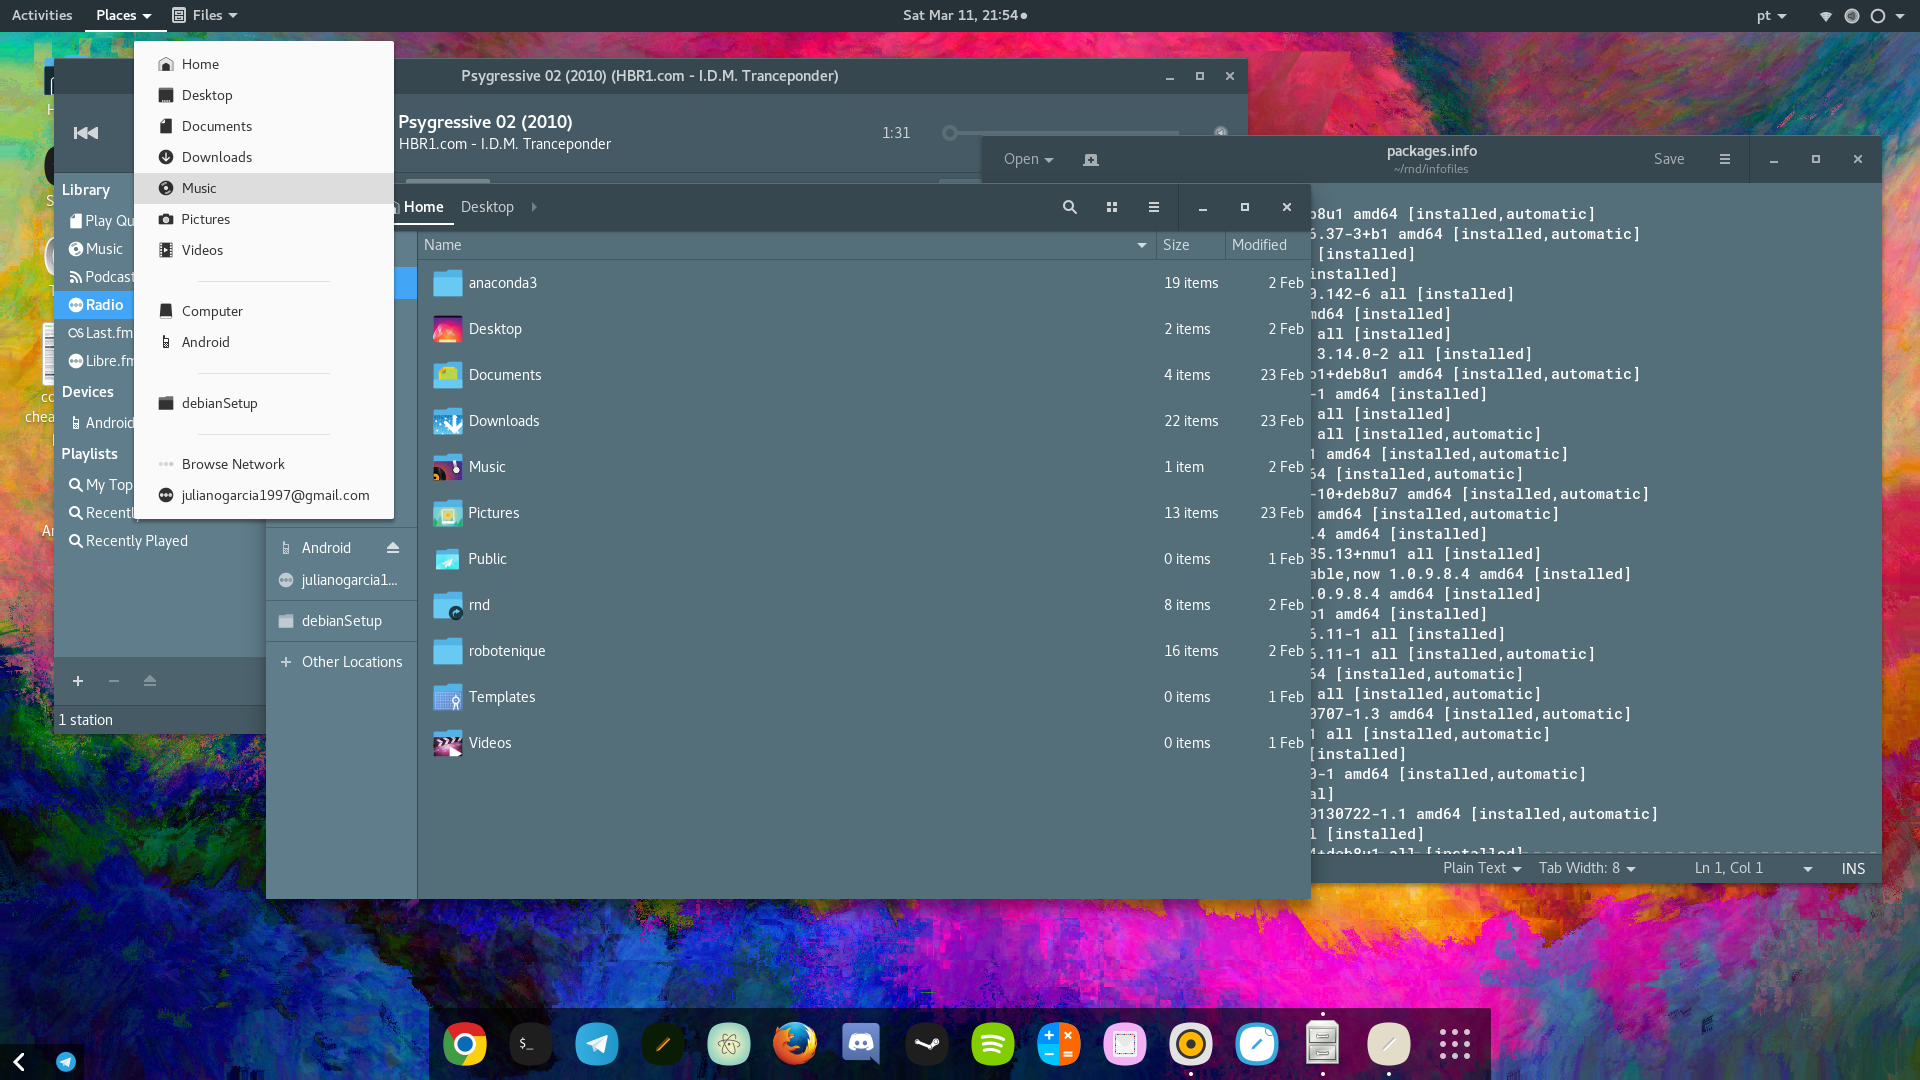
I use a dualboot with debian and Windows 10. In this post my focus is in my the linux environment, which is a Debian 9 (Stretch), with the GNOME 3.22 desktop environment, and some customizations in the theme. You can see below my desktop in the screenshot.
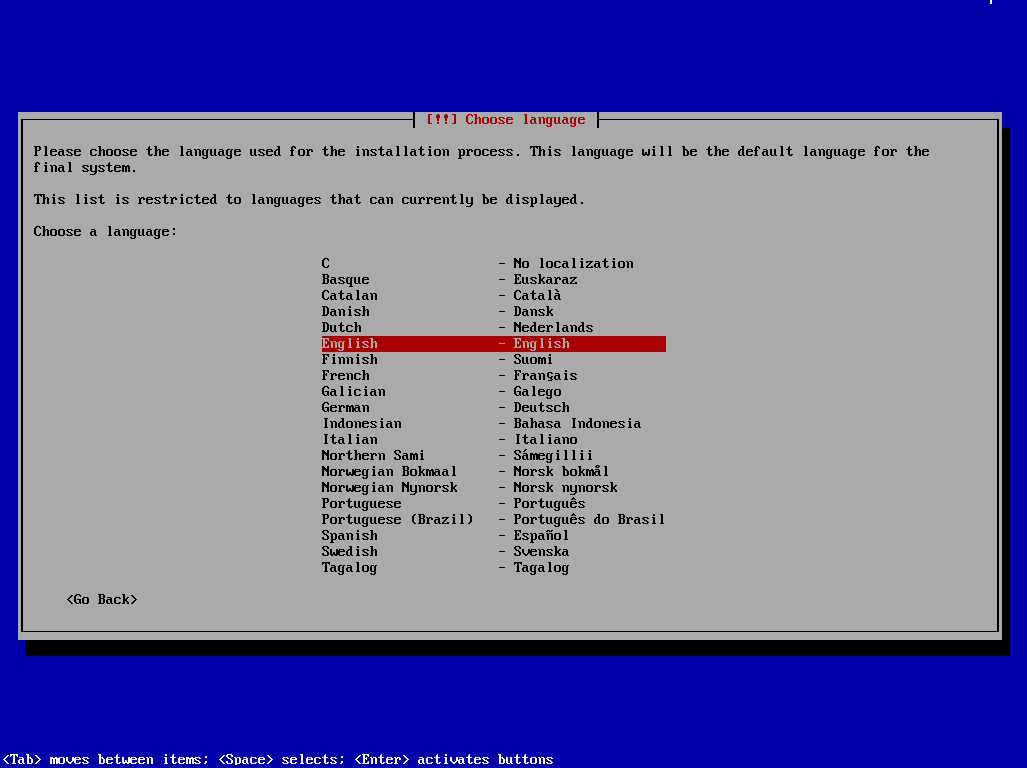
I installed Debian Stretch from the official Debian website, using the netinst version with the amd64 architecture. Important: to use the netinst version, you need to have internet connection because the netinst version downloads a lot of things in the setup. You can click here to access the official Debian download page.
The installation itself is pretty straightforward. In the desktop environment section select the GNOME environment.
After the installation is complete, there are some things you need to take of. First of all, if you have (like myself) another HDD partition with Windows or another OS, I suggest updating GRUB, by opening the terminal and running the following command as root (use su to access the root user):
$ update-grub
This will generate a GRUB configuration file with the OS installed in your machine. If this didn’t worked, you could also try to run update-grub2.

Debian by default doesn’t add your user to the sudo group, to make use of the sudo functionality (which I recommend), type this in your terminal (as root), replacing juliano with your actual username:
$ usermod -a -G sudo juliano
Now, whenever you need to do something as root, you can just run with the sudo keyword before the actual command. It’s safer than using su, and much more convenient.
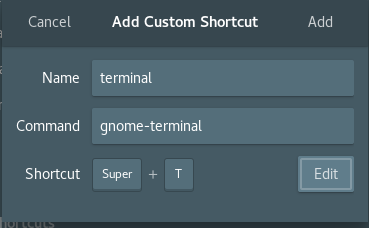
IN GNOME 3.22 the keyboard shortcuts section changed, and now it’s easier to navigate. Go to Settings (Press Super/Windows key, then type ‘settings’), go to ‘Keyboard’, and explore the shortcut list. Personally I recommend checking the shortcuts for changing workspace, managing a window size / position and setting the shortcut for “Hide all normal Windows”. To add a new shortcut just go to the end of the list then click the ‘+’ symbol.
One custom shortcut with I find very useful is to open the terminal. Just set it up like the screenshot below, and you’re good to go.
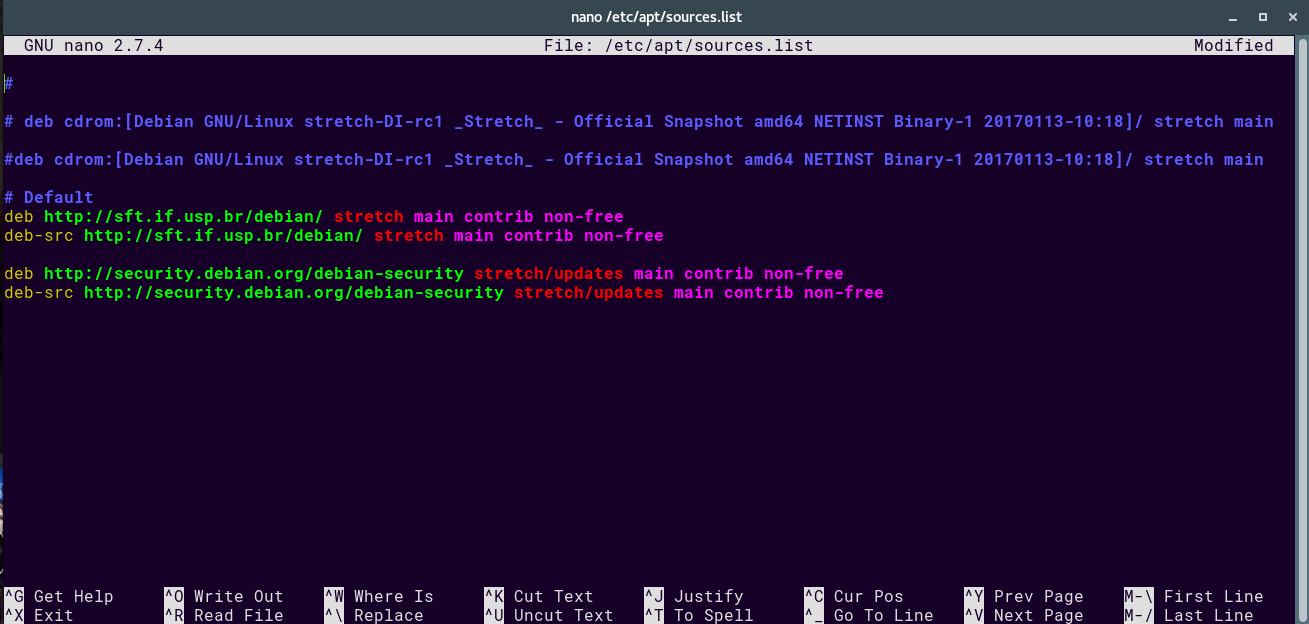
To use the apt with most common applications, you need to edit the sources.list file, and add some new repository URLs to it. Open /etc/apt/sources.list with gedit (or nano, vi, etc), and add some basic info about the repositories. I suggest checking this website which generates a sources.list file automatically based on your location, or you could just add the contrib and non-free tags at the end of each repository URL.
You can check my sources.list until this point of the configuration (we’ll add more things later):
After you need to update the repository in apt, so run these commands:
$ sudo apt-get update

$ sudo apt-get upgrade
Now that the repositories are configured, you can install some common applications in the PC using the apt tool. You can apt-get install most of the apps you need, for example, to install Google Chrome run $ sudo apt-get install chrome, and so on. But there are some other software which you need to download and install manually, but you can do it easily with dpkg (if it’s a .deb file).
Some applications I installed were Telegram, Discord, Chrome, Vlc, Sublime Text and Git.
I had a nasty problem installing steam in the Stretch version, but it finally worked out. I installed some missing libraries (initially the problem was “You are missing the following 32-bit libraries, and Steam may not run: libc.so.6”), and added a PRELOAD variable every time I run Steam, and it works like a charm. Personally, I wouldn’t reccomend you install Steam or any games in Debian, to keep you focused in the work. When I want to game, I just switch to Windows, and this keeps me from wasting time and separating both activities by the OS I’m using.
In my terminal, I use ZSH instead of bash, with the oh-my-zsh framework. Below is a screenshot of my terminal:

First of all, you need to install the ZSH, and then the framework itself. Just follow the tutorials for installing ZSH and oh-my-zsh.
After you installed everything, you can customize your theme and add aliases in the ~/.zshrc file.
If you want something similar to my theme, you need to install the powerlevel9k theme. Also, you need to install custom fonts to display the icons properly. The dependencies of the fonts you’ll need are awesome-terminal-fonts and Powerline fonts.
In the terminal (Gnome terminal) you can change the fonts, configure the color schemes and configure some minor features. For the theme to work properly, you need to modify your “~/.zshrc” file and add the information of the powerlevel9k theme. You can check my .zshrc for hints and a model of what you could include in yours.
Oh-my-zsh is one of the best frameworks for the Linux shell, it can increase your productivity and make things simpler, by using a variety of plugins and built-in functionality. The tab completion is much more powerful than the default bash, and much easier and intuitive to use. I recommend to check the plugins in the Oh-my-zsh page. I use the git plugin and the global/local history plugin. Finally, another good built-in feature of Oh-my-zsh is their aliases. Run alias in the terminal, and see all the aliases predefined by the framework, especially those about git (ga, gp, gl, gcmsg, gcl) cause they make things easier and faster.
In Gnome, you can make a lot of customization. In debian Jessie I was using the Xenlism shell theme, but in Stretch I changed to a material design based one. I’m using the Flat-Plat with Xenlism wildfire icons which you can in action in the screenshot below:
The installation for both of these are easy, so I won’t cover it here. Remember to activate the “User themes” extension in the gnome-tweak-tool, so that you can select the theme you want. You can find more themes in the Gnome look website. The installation may change a bit, so make sure to check the description of each extension / theme you download. I also use the breeze hacked cursor, it didn’t appeared on the screenshot but you can check it in the Gnome Look website very easily (to install custom cursors, extract the file to /usr/share/icons/, then change it using gnome-tweak-tool).
Finally, to use the bottom OSX-like dock instead of the side bar, I use the dash-to-dock extension, which is very easy and you don’t have to setup a lot of different things. Just install it and activate it, and you’ll have a cool dock which you can place your most used apps!
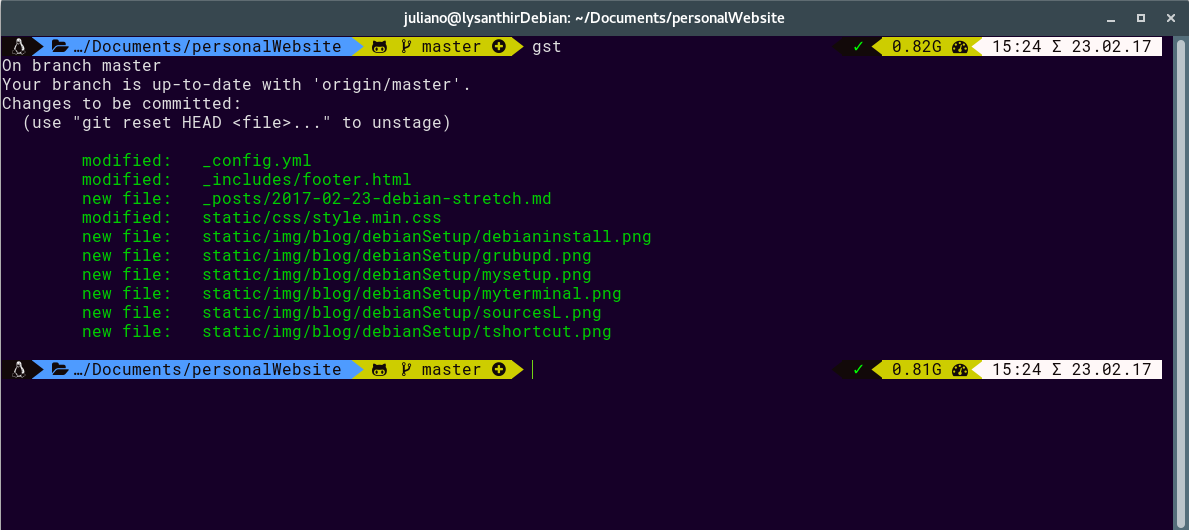
Well, that’s it for the Debian Stretch installation! Of course, this is the way I did it, if you have any suggestion or critic, contact me! I’ll soon do another post about about my development environment, how I set it up, the text editor, some tools I commonly use, and other tips!